How to Floss Your Permanent Retainer
One of the most challenging things about having a permanent retainer is keeping it clean. Retainers that are bonded behind the teeth look nice and do their job pretty much without your help. Unfortunately they also tend to accumulate plaque and require more time and effort when you are flossing. As you know from my other articles, I’m not a fan of permanent retainers that are bonded to every tooth. Although they are the most reliable when it comes to preventing tooth movement after your braces come off, they are also the most difficult to care for afterwards.
3 Ways to floss retainers bonded to every tooth
There are three ways to floss bonded retainers attached to every tooth. First, floss threaders are little plastic needles that can be used to help direct floss between the teeth and under your retainer wire. Once the floss is under the wire, it can be moved up and down the sides of the adjacent teeth to remove plaque as normal. You must re-thread the floss between every two teeth that are bonded to the retainer however. “Superfloss” is a precut piece of floss on which one end has been plasticized by the manufacturer. This can be purchased at most pharmacies and discount chains. The stiff end makes it easier to thread the floss between the teeth. The third option is to use small brushes or “picks” that fit between the teeth. My personal favorites are called Soft-Picks. These are made of only plastic and rubber and therefore do not damage my enamel.
Retainers bonded only to the canines are easier to floss
My favorite permanent retainer for the lower teeth is attached only to the two teeth at the end of the retainer (usually the canines). Because the middle teeth are not attached, you only have to thread the floss under the wire once. Using a little “sleight of hand,” it is possible to get the floss under these retainers without using a threader or Superfloss. Here’s how:
Steps for flossing your lower retainer without a floss theader
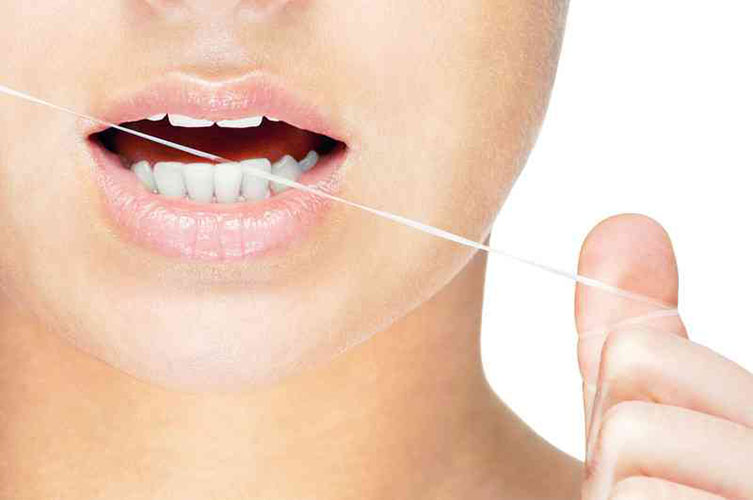
- Form a loop in your floss about 5 or 6 inches from the end
- Slip the loop over your two lower front teeth so that the two ends of the floss are hanging out of your mouth. The floss enters between your left lateral and central incisor, lays flat against the back of both centrals, and then exits back out between your right lateral and central incisor. At this point, the loop is around the teeth, but still ABOVE the retainer
- Holding both ends, pull downward until you feel the loop of floss “snap” under the retainer behind your teeth
- Let go of the short end of the floss and slowly pull the long end until it exits the space between the teeth. At this point the floss will usually straighten out and point under your tongue
- Using your fingers (with the help of your tongue), grab the loose short end and pull it towards the back of your mouth so you can wrap it around your fingers as you normally do when you floss
- With the floss now under the wire and wrapped around your two fingers, you can now easily clean by moving the floss up and down against the sides of the two adjacent teeth
- To get to the next two teeth, keep a hold of both ends of the floss, lift the front half up and out of the just-flossed “embrasure” between the teeth, slide it over into the space between the next two teeth, and then pull it back down in between
- Repeat this for all of the teeth that are being supported by the permanent retainer
- To remove the floss, just let go of either end and pull it through
This is a clever trick that will allow you to keep your teeth clean and healthy without having to spend a lot of money and extra time using floss threaders or Superfloss.
NOTE: The author, Dr. Greg Jorgensen, is a board-certified orthodontist who is in the private practice of orthodontics in Rio Rancho, New Mexico (a suburb on the westside of Albuquerque). He was trained at BYU, Washington University in St. Louis, and the University of Iowa in the United States. Dr. Jorgensen’s 25 years of specialty practice and 10,000 finished cases qualify him an expert in two-phase treatment, extraction and non-extraction therapy, functional orthodontics, clear aligners (Invisalign), and multiple bracket systems (including conventional braces, Damon and other self-ligating brackets, Suresmile, and lingual braces). This blog for informational purposes only and is designed to help consumers understand currently accepted orthodontic concepts. It is not a venue for debating alternative treatment theories. Dr. Jorgensen is licensed to diagnose and treat patients only in the state of New Mexico. He cannot diagnose cases described in comments nor can he select treatment plans for readers. Because he has over 25,000 readers each month, it is impossible for him respond to all questions. Please read all of the comments associated with each article as most of the questions he receives each week have been asked and answered previously. The opinions expressed here are protected by copyright laws and can only be used with written permission from the author.